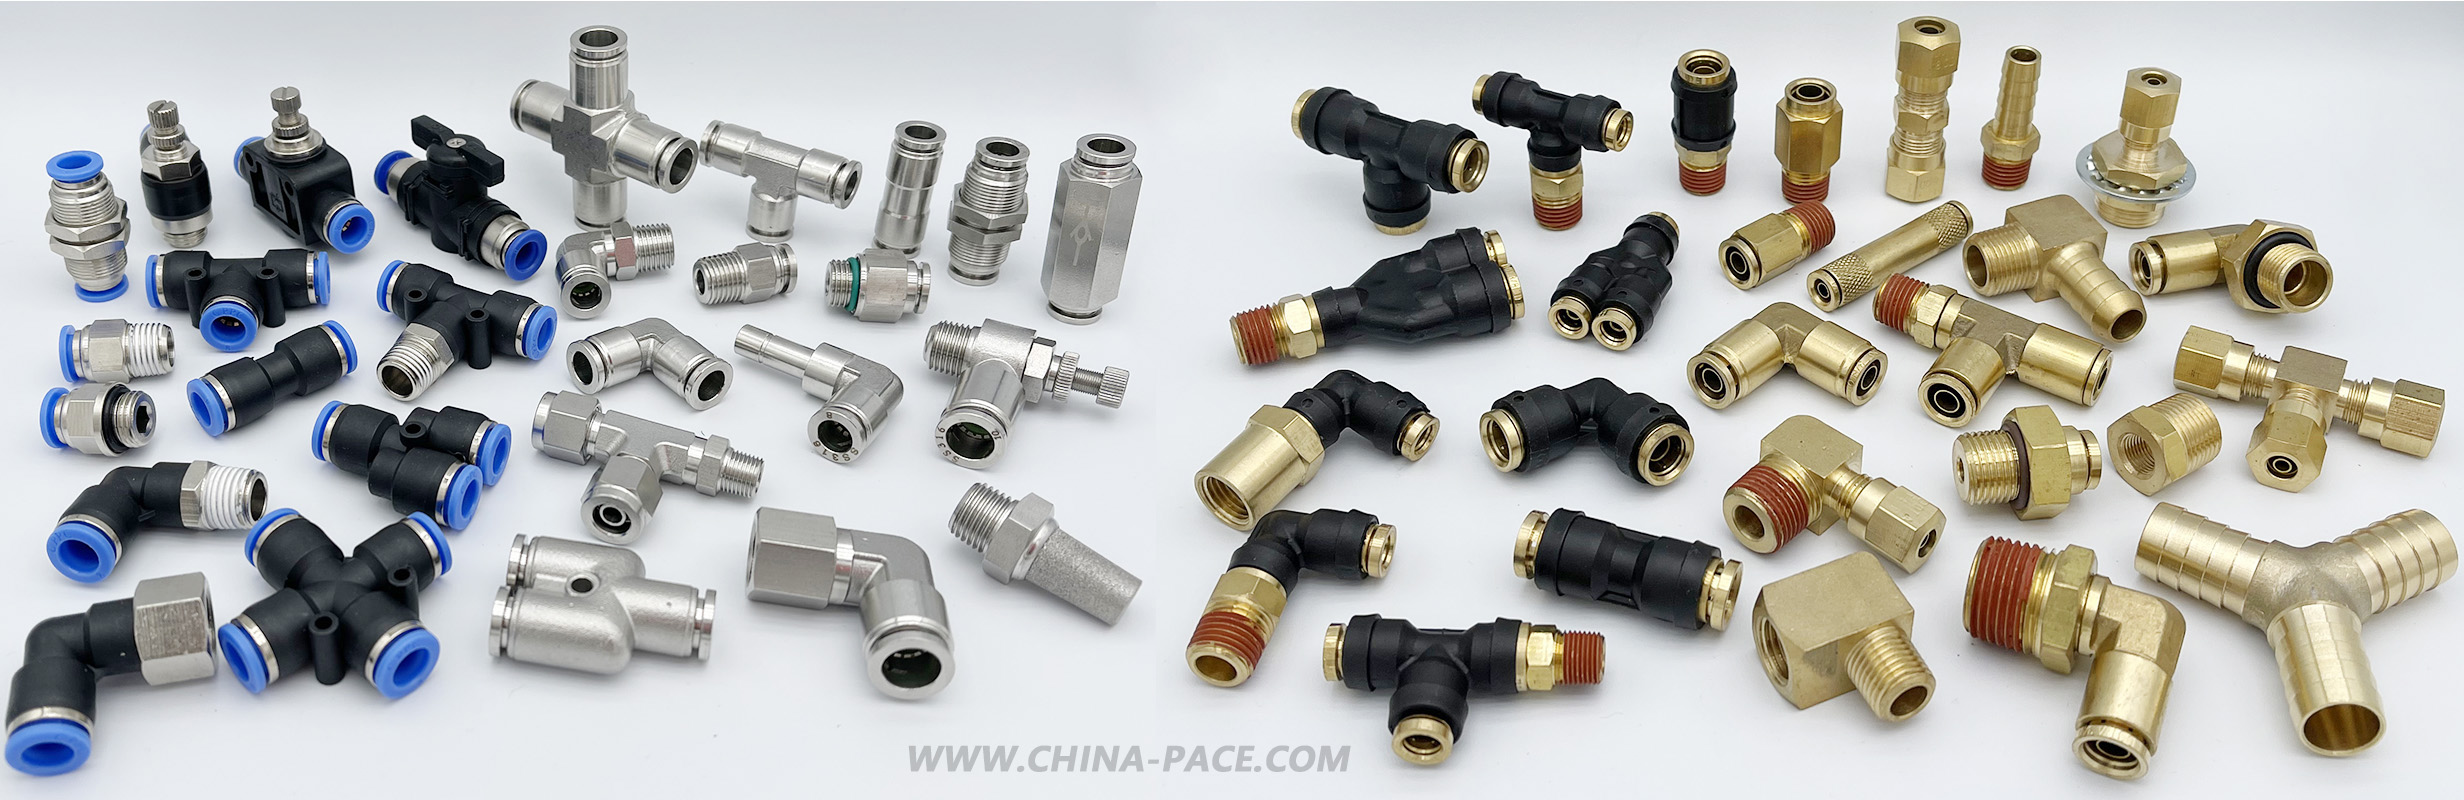
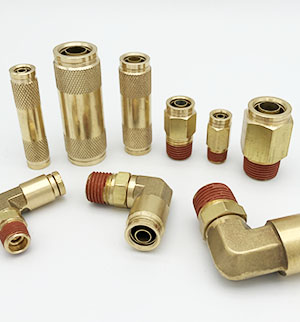
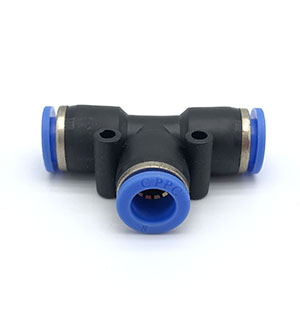
Chinese Reliable Manufacturer for Pneumatic Fittings, Brass Air Fittings, DOT Push To Connect Fittings, Stainless Steel Push In Fittings, Air Suspension Parts and Truck / Trailer Air Brake Hose & Fittings
Inflation valves - Schrader valves - Push To connects to air springs and other components that use air lines to provide a manual inflation point. Tube size from 1/8", 1/4", 5/16", 3/8", 1/2"
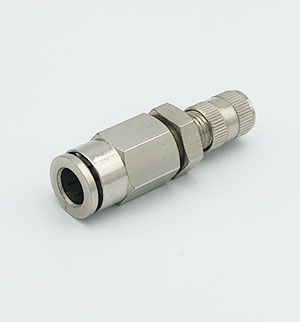
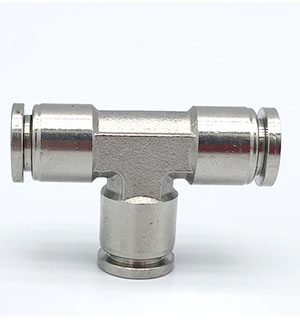
Stainless Steel Push-In Fittings
316 stainless steel push-in fittings provide easy tube insertion and removal for rapid assembly. 316 stainless steel push in fittings are suitable for applications in corrosive environments where brass and acetal are typically prohibited.
316 Stainless Steel, Viton Sealing
PACE part number cross with SMC, FESTO, PARKER, LEGRIS, NORGREN
This video depicts a RideRite Air Bag & Air Spring being installed on a GMC Sierra truck. Although this video is representative of most vehicles, the installation process may vary slightly for your particular vehicle.
Before you begin installation: park your car on a solid, level surface. Chock the front wheels, using jack stands rated for your vehicle’s weight. And, be sure to disconnect the negative battery cable
Pre-assemble the air spring bracket by first installing the lower bracket onto the bottom of the air spring using the included 3/8 16 bolt.Tighten securely.
Turn the air spring over to access the upper bracket. In this case, the muffler is on the right side of the vehicle (modify accordingly to your vehicle) so place the heat shield on this spring assembly prior to installing the upper bracket. Also, pre-install one of the bolts that will be blocked by the heat shield when you secure the spring assembly to the frame. Install and tighten both the heat shield and the upper bracket with the bolts.
Install the male airline fittings into the air inlet. Tighten securely so it engages the orange thread sealant.
Preassemble the left (or other) air spring bracket by repeating steps 2-4.
Remove the rubber bumpstops bolted to the frame above the rear axle.
Take the right side (muffler side) air spring bracket assembly and place it on the axle. Install the upper bracket to the frame in place of the bumpstop, using the bolts . Tighten securely.
Fasten the lower bracket to the axle with the axle strap using the bolts and nuts. Hand-tighten.
Place the bale clamp around the leaf stack U-bolts. Install the bale clamp to the lower bracket using the nuts. Hand-tighten.
Tighten all lower bracket bolts using your tools . First the axle strap nuts, so the lower bracket rests on the axle, then on the bale clamp to finish securing the air spring assembly to the axle.
Repeat steps 7-10 on the other side of the vehicle.
Before you install the airline tubing, carefully uncoil it to avoid kinks or folds . Cut it in two equal lengths using a tubing cutter to ensure a square cut.
Insert one end of the airline tubing into the airline fittings in the top of the air spring. Pushing the tubing into the fittings as far as possible.
Install the air inflation valve in a location where you can easily access the valve and where it will be protected while driving. Use the provided washers and nut for installation. If necessary you can drill a 5/16” hole for mounting.
Run the airline tubing from the air spring to the valve. Wrap it so it will avoid direct heat from the exhaust pipe. Cut to fit using a tubing cutter and insert the end into the air inflation valve – again pushing it in as far as possible. Secure the airline tubing in place with the provided nylon ties.
Install the other side of the airline tubing by repeating steps 13-15.
Inflate the air springs to at least 50lbs per square inch. Add air in small increments. Air springs inflate much faster than a tire, so check pressures frequently during inflation.
Once the springs are inflated, check fittings for air leaks. Spray a solution of soap and water on the fittings to test for a leak.–You can spot a leak by seeing expanding bubbles around the leaking area. If you find a leak, let the pressure out of the line before repairing it.
If the leak is at the tubing connection, remove the tube and check for a square cut and ensure the tube is fully inserted in the fitting.
If the leak is at the air fittings, tighten the fitting until the leak stops.
After you re-install the tubing, re-inflate the air springs and re-check for leaks, your leak check is complete.
Before you drive your vehicle, make sure you have enough clearance for your air springs. If you are carrying a load in your vehicle, you must have at least a ½” clearance around the air springs. Never exceed your vehicle’s maximum load recommendation (found in your vehicle’s operating manual and tire sidewall).